Monday, November 11, 2013

Razor Blade mouth trick

Razor Blade in the Mouth Trick


!!!! Disclaimer !!!  Spoiler !!!!  

 Stop  reading if you do not want to know how this trick works.


This Magic trick is performed in Forever Plaid.  In this trick the actor takes a razor blade out of a handled shaving razor and sticks it in his mouth acting like he swallowed it.  He follows this with 2 more spare blades.  Then he takes some floss and cuts a pieces off and pretends to swallow it.  Then, after swallowing actions etc, he proceeds to pull out of his "empty"  mouth the 3 razor blades all tied together on the floss. 

This projects was all done by me start to finish.  How to do it was learned by all from a magic DVD.  Initially it was thought maybe will only need 8-12 sets.  Nope. Eventually ended up making close to 40 sets. (6 blades a set).  This prop has to be done very carefully.  They are put in an actors mouth, and these are real razor blades.  We don't truly want him getting cuts in his mouth.


It starts off with disposable razors blades.  These tend to come 10 to a pack and are slightly oiled to prevent them from rusting.  Needed to wipe each one off.


Contact paper is what is used to cover the blades and make them safe.  A 2"x2" square was cut out for each.  The buttons seen below come into play shortly.

Once the individual blade is wrapped in the contact paper, the excess needs to be trimmed off.  This has to be done carefully and well.  You don't want to cut to the metal and expose a razor edge, and if the angle of the curve cut on the contact paper is too steep, that edge becomes sharp.  I needed to make these absolutely safe for the actor. 


 For each set, one of the blades needs the center section of contact paper trimmed out so it will fit in the shaving handle. (Rt side below) Part of the actors action is to remove this blade in front of the audience.  It helps define what these are.  

He then proceeds to "swallow" it.  Followed by 2 more.  These get tongued to the inside of his cheek.  Next, he takes a length of floss and pretends to swallow that, tonguing it to the side with the newly inserted blades.


In the mean time, he has had a package in his mouth.  This has 3 of the razor blades strung along a string.  It has a button at one end to make it easy to grab and pull out the rigged blades.  These are always strung at a similar distance and on a length of string


 Below is a complete set, along with the HyMark thread used to string it, and 2 blades in the contact paper stage.  

Initially each set was wrapped as a whole in a zip-lock baggie.  After about a week or two of the show running, the actor and run crew asked that the components be separately combined.  The strung razors were each wrapped up into a sandwich bag and taped shut, and then put into a 1 gallon zip-lock bag. This keeps them orderly and not tangled with each other. 2 other zip-lock bags were then used. One for the center cut out prepped razors, and one for the singles. 


Wednesday, October 23, 2013

Projects, projects, and more projects.


Oh coffee stein, how I love thee.   


Forever Plaid has started tech.  Lots of little projects are being done. We are also moving onto Noises off.
Lets start with Forever Plaid.


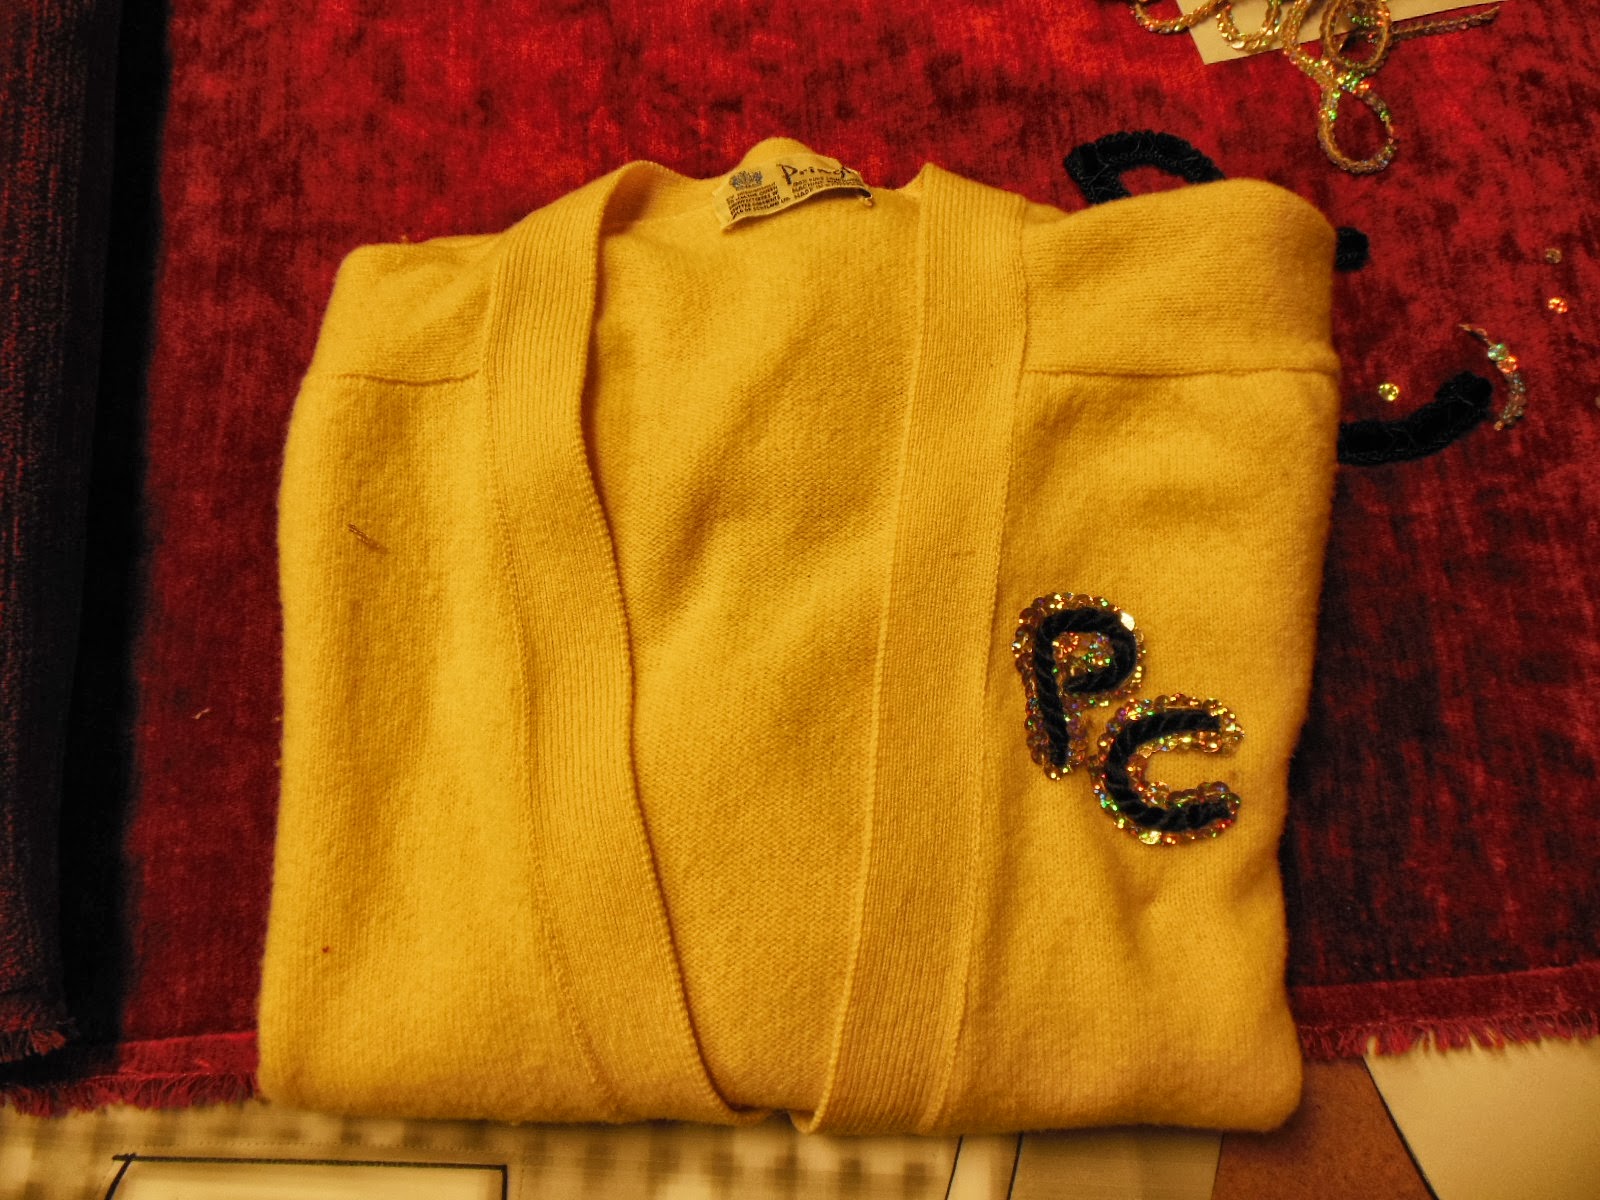
Perry Como Cardigan
This cardigan gets presented on a pillow.  A PC logo was mocked up but the director and designer wanted smaller.  So Margaret drew up one about 1/2 the size.   This sweater I also hand stitched together inside so it wouldn't unfold.

Down sizing.  Large black trim for letters on right getting reduced to black cord on left  and then gold trimed.
Tying off the silk cord.  Did a burn test. Smelt like burnt hair. Didn't really self extinguish, no hard ash.  Pretty sure its silk. I used Hymark thread wrapped tightly at the lengths I'd measured out.  Cut with scissor and sealed with fray check
Perry Como cardigan with research. Smaller letters pinned in place.
Finished Sweater.

Weighted microphone 
This microphone was being lowered from the ceiling by a counter balance system, so it needed to be as heavy as possible.  It was not a working mic.  It was initially loaded up with lead shot, but they were popping out through the windscreen.  Needed to come up with something to keep the lead shot in.  (Once the show got to tech, this prop was cut.)
Disassembled microphone.  Patterns for the indides tarced on to paper and fitted.  Lead shot is in cup.

Initially discussed using aluminum metal wind screeen and painting it. But went with a quicker and efficient plan of using black felt.

Black felt fitted and tacked down with hot glue.  These 2 steel halved fit together very snugly.

Done microphone.  Lead shot loaded with a funnel through hole on top.  Packed in with a screwdriver, like ramrodding a musket. Then taped shut with silver tape.


 Razor blade magic trick
 Here's a sneak peak. I've been asked to not reveal this till after the show Forever Plaid  opens.


 Retractable Floss
This floss is going to be handed to an audience member as a gag gift that then needs to retract to the actors pocket.  So I cut out some plaid form the stash of plaids used to decorate this show. Applied it with Super 77 adhesive and touched up later with Fray Check. I then pulled the floss out from inside. We won't be needing it.  Drilled a hole in the bottom of the case for the thread to go through. 


Purple object on the right is the retractable name tag mechanism that fits right into the floss case.  I untied the small purple knob, being careful to not let the thread zip back into the purple case.  Threaded it through the floss case and retied it.

Completed plaidified floss case with retract mechanism installed.  Top section of floss insert tacked back in with hot glue to mask purple mechanism inside. I did use fray check on this after picture was taken to clean up the fraying edges.


(to be continued....Blog post under construction)

Saturday, October 19, 2013

Flicker Candles Cont.

So last time I ended with the soldering and brush on electric tape. Continuing on...
Decided to recess the dead man switch to protect the connection and ease of use.  I drilled into the dowel along the wire groove deep enough to set in the switch and protect the end connection. 

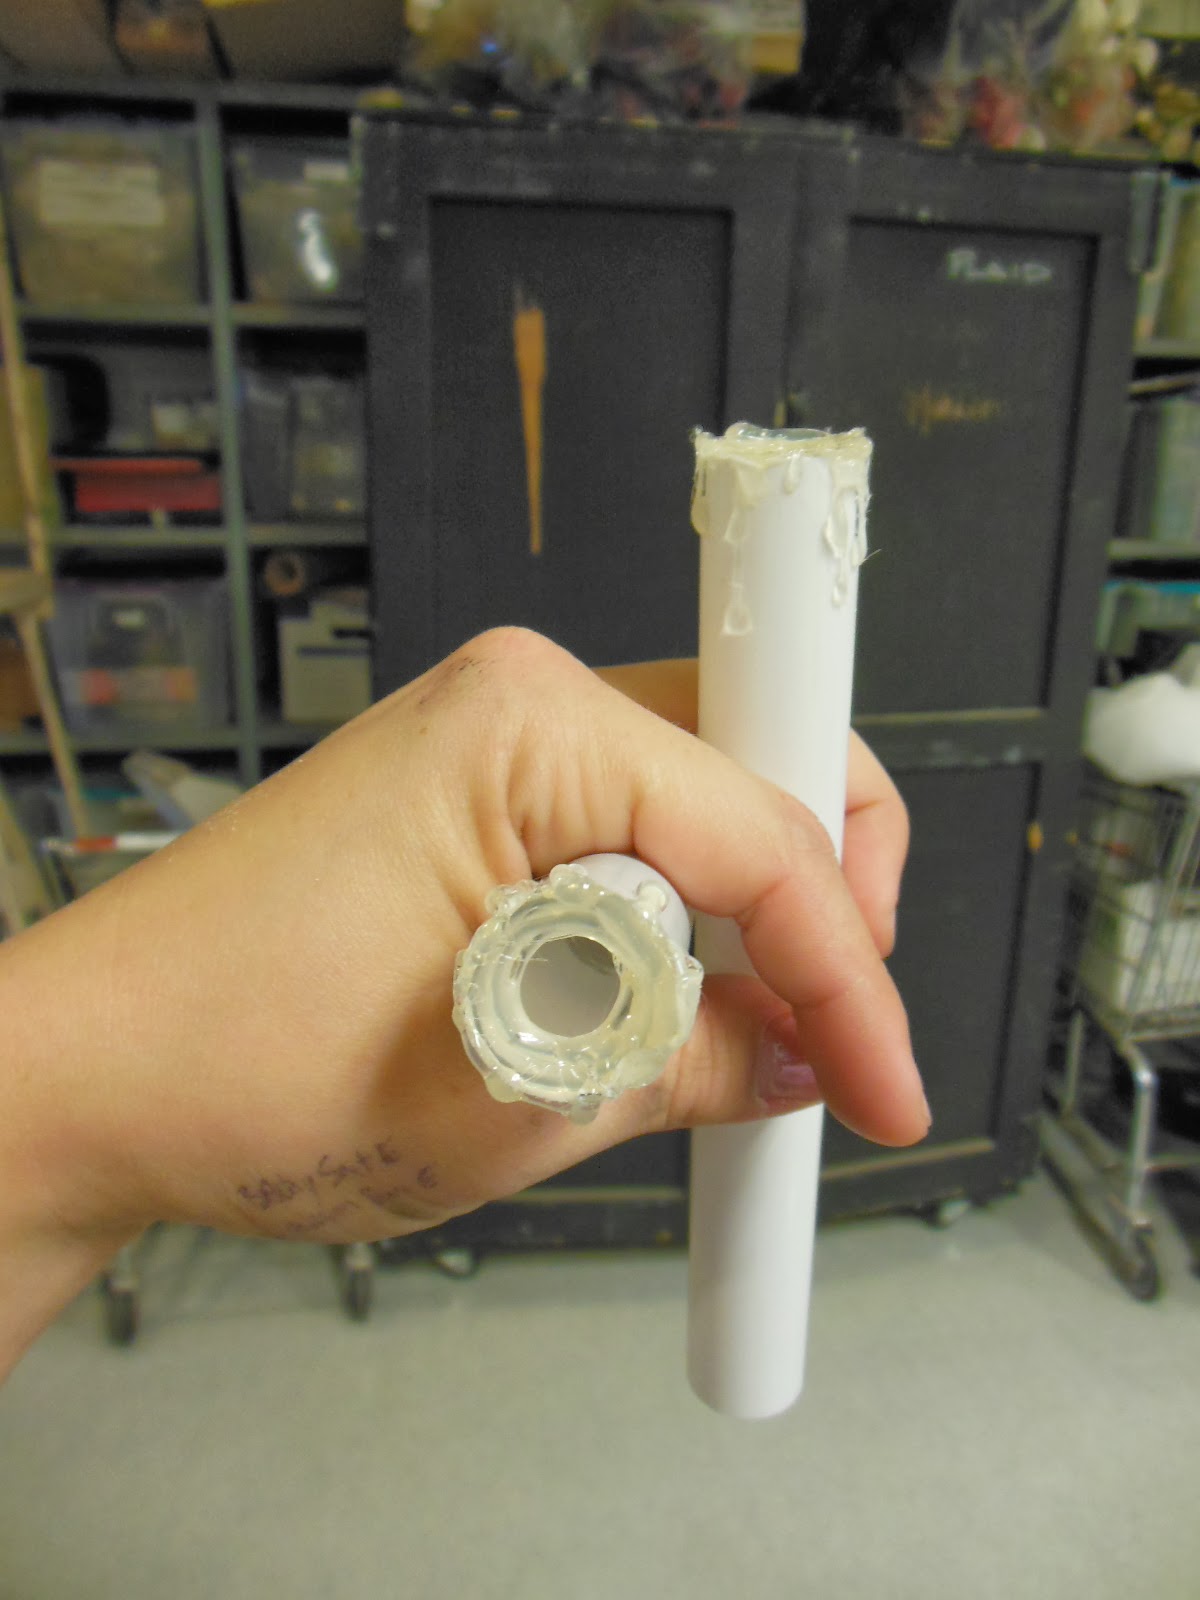
Wax dripping applied with new hot glue.

A look down the inside.  I built up a ring of hot glue to give the effect of melted wax, and also to stabilize/center the flicker wick.

Patterned out a screen cover for the flicker wick chip circuit board. Plastic window screen. I did a burn/heat test with a heat gun. It did not start on fire, melted just a bit at very close range (1"-2" away)on high heat.  Should do just fine over the circuits. Will get gaffe taped on and then Velcro tape used to secure it to the bobech.  I did a heat test by putting a screen over the chip and holding the switch on for 4 mins.  The circuit did not get hot in that time


9 v batteries white taped and 3M dual lock used.  5 of these and 3 spares rigged up if batteries need changing by the end of the run of the show.  I chose the dual lock for the batteries because it is heavy duty and could handle a lot of weight.

When the candles are on, we didn't want to see a hard line of where the dowel was inside.  We wanted the effect to be the glowing top of a candle. So to diffuse the light, I wrapped some tissue paper around the wick above the dowel.

Left candle had the tissue paper diffusing, Right candle has no tissue.  You can see the distinct line of the dowel through the glow on the right one..

Taping up the bottom rig.
Finished Candles. 4 and a spare.

Finished candle close up.  I was not satisfied with the black screen mesh.


So, I took them off the circuits and spray painted them flat white

5 done flicker candle rigs

Close up.

Monday, October 14, 2013

Flicker Candles for Forever Plaid. Start date 10/10/2013

All righty.  So on Thursday Jim said, "These are flicker wicks.  Make 5 candles.  Here's how the circuit will need to be soldered.  They need to be hand held, look like church/ choir boy candles, have a kill switch and a 9v battery affixed to the bottom of the bobeche (new word for me) It's the wax drip catcher on a candle.  Look at what's here in the shop and come up with a plan and do it. Don't want them to be too brittle, and needs to be able to be unassembled after the run. Cool.

Day 1. Thursday 10/10/2013
Flicker wicks.  Have a circuit board and run on DC power.  Newer models have micro switches to adjust the chase of lights inside the wick.
Different products to test for candle body.  We want there to be a glow in the top inch like in a real candle.  Wick will be hidden inside.  Experimented with PVC, UHMW, clear acrylic, candle sheathe.
UHMW was perfect but very expensive.  Decided to go with candle sheathe. It's a brittle product so dowel will be fitted inside and also be the lower half of the candle where it is held under the bobeche.  Total end length around 11 5/8".  Cut a groove in the dowel with the table saw to make room for the wick wiring.
 Today I also mocked up a bobeche out of plastic board and cut a groove in a dowel. Got proportions and process approved. Then cut out 5 bobeches from a plastic board on the band saw for the outside and drill press for the center hole. Sanded the edges smooth with 80 grit sandpaper.

Spray painted a length of dowel flat white to let it dry over the weekend. This will be then groove cut on the table saw and cut to length.


Project container


 Day 2. Monday 10/14/2013
Further assembly...

Mock up version.  Grooved dowel with wick installed. Candle sheathe and Bobeche mock-up on.  Used this to determine any design changes.  Talking with Anna and Jim, we decided to shorten it by an inch. Plans and notes on the paper to the right.

Wick all the way out and on.

Wick further in to see the glow and how distinctive the dowel light line may be.

Layout of readied components.  Dowel, sheathe, bobeche, wicks.  Now it's time to start soldering.

Soldering in dead switch.  You have to press this button to complete the circuit to make the wick turn on.


Soldering in switch and connection to the battery socket.


I forgot to put shrink wrap on the red wire connection side so I used brush on electrical tape to coat this connection end. The black wire solder connection I remembered to put the shrink wrap on first.  When using this product you need to wear gloves, a respirator and work in a ventilated area.  You open and close the can with a pliers.

Coated connection.  No shorts in our future.
The tops of the candle sticks need some sort of melted wax dripping.  Not too crazy.  I'd not personally done it before so I practiced with old hot glue ( that's why it's yellow) and a spare chunk of the candle sheath product that will be used on the finished pieces.
I also built up hot glue on the inside to give the effect of a pool of wax.  this will also keep the flicker wick in the center without it being permanently attached.

 Video of the wick in action in my hot glue practice tube.


Coming up this week: figuring out circuit board attachment and protection, battery attachment, switch installation along with final assembly and finishing touches.

Tuesday, October 8, 2013

Forever Plaid and previous week in review.

   Forever Plaid had it's first official rehearsal today. So around lunch time there was an eat 'n greet.  Met the cast and designers, and other MRT company members. This past week we've been pulling and prepping for FP.  On Tuesday Anna and Jim had a sit down production style meeting with FP's Director, Asst Dir. SM and ASM.  I sat and listened in asking Margaret questions.   They went through the entire show's prop lists thoroughly talking about each prop and it's use/action. Cutting some, and adding others.  How it's used, where it comes from. The intended effect.   They went through the Designers choices and research. Talking about certain tweaks and how to build things.  For instance, a drop curtain that needs to say Forever Plaid.  They talked together about borders and Margaret gave opinions about fabric, colors, style.  Katie mocked up some options/views quick in the computer and they were able to present them directly to the director.

 Today I stripped 2 barstool chairs in the paint booth.  They had been chrome and were painted, who knows when.  Started with just steel wool.  No dent in the paint.  Went to Acetone and steel wool.  It worked some but it took lots of elbow grease. So I ramped up to Zip-Strip paint remover. Used fine grain steel wool, disposable foam 1"brushes, plastic scrapper, respirator mask, Neoprene gloves, long-sleeve labcoat.  It still took a long time but they came out shiny.